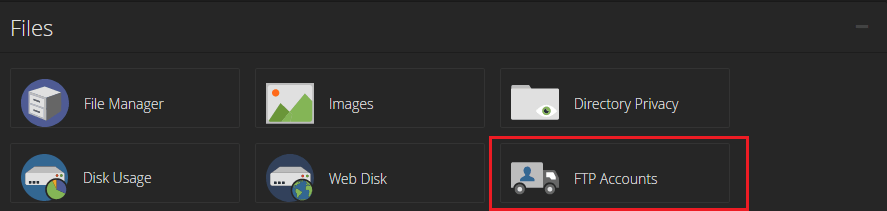
1. Open the FTP software. Then connect to your website using your login credentials. You can find the login credentials in the cPanel dashboard of your hosting account.
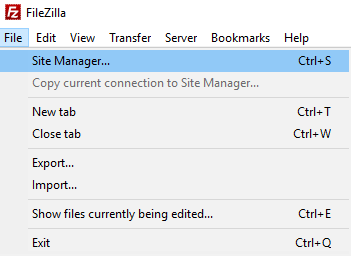
2. After you get your login credentials open FileZilla (download & install first) and go to File>Site Manager.
3. A new popup window will appear. Here, click on the New site button and give a title for your website.
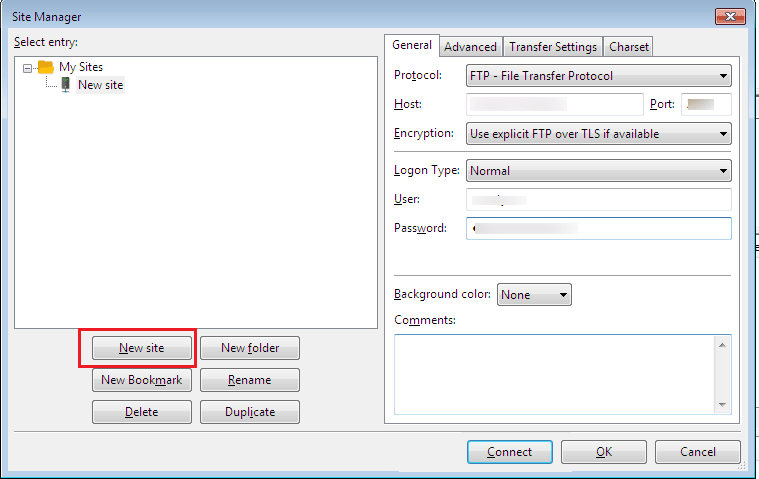
4. Enter your domain name in the box near the host option. Select the Logon type as Normal. Then, enter your FTP user name and password in the respective fields.
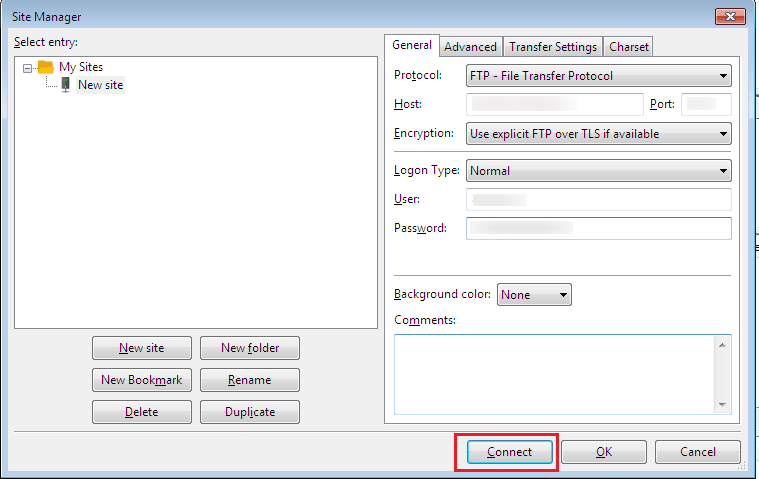
5. After that click on the Connect button.
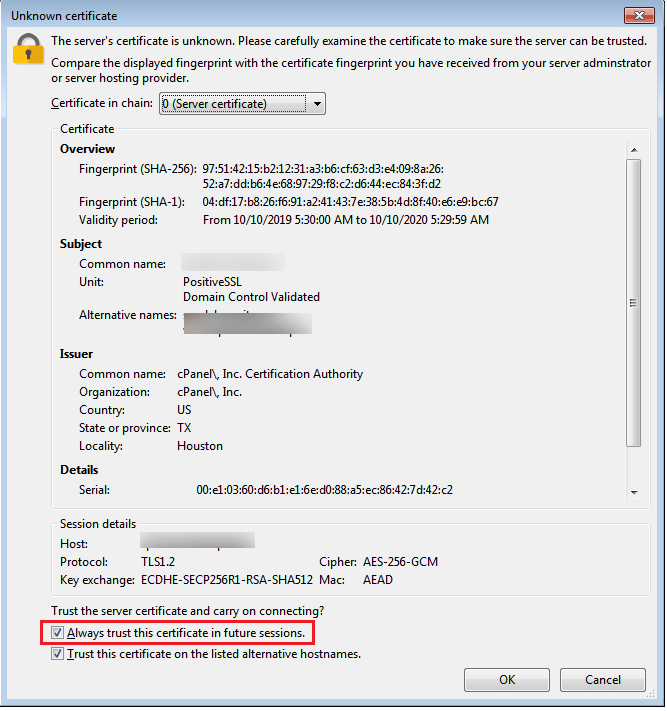
6. If you are connecting your website from this computer for the first time, then a certificate popup will appear. Tick the box that says, Always trust this certificate in future sessions and click on the OK button.
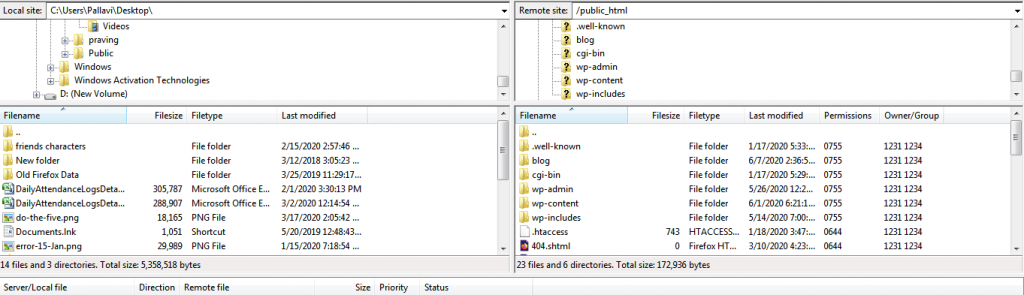
7. Filezilla will automatically connect to your website using the login credentials that you have entered. After you have successfully connected to your site, a list of files and folders of your website will get displayed under the Remote site column.
You can see the files that are on your computer in the Local site section.
8. Browse the local site to select the file that you want to upload to your site. Next click on the Upload button.
But you have to organize your files properly so that WordPress will function smoothly.
9. You can also download files from your site to the local computer and you can edit the file. You can do so by clicking on the File and Folders under the Remote site column. Next click on the Download button.
So this is how you can upload and download files to WordPress using FTP.