

With the use of Caching, your website's speed can be improved as it acts as the memory and saves some elements of the web pages. It also reduces the page's loading time. There are a lot of WordPress plugins available for you. Choose the plugin that is compatible with your site in the best possible manner.
So let’s now know how you can set up your cache.
- First login to your WordPress admin account.

- Hover over the cursor on the Plugins section and click on Add New.
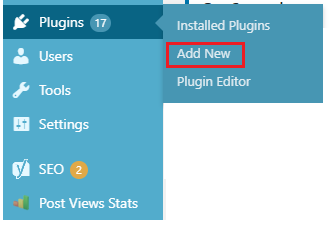
- In the Search bar search the term ‘caching’. Here you will find lots of caching plugins.
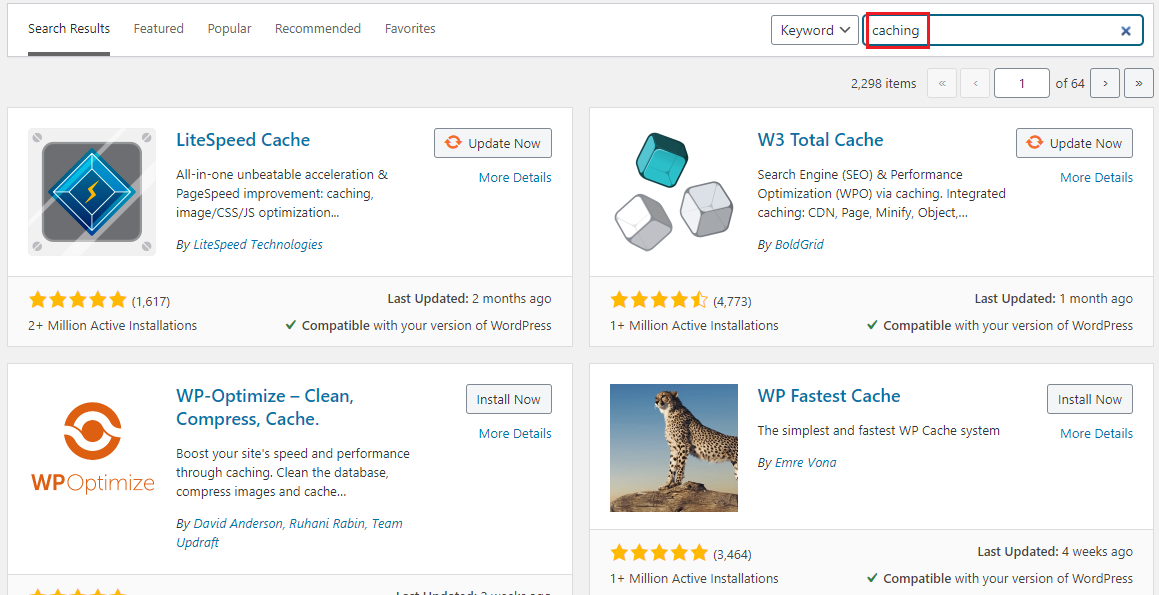
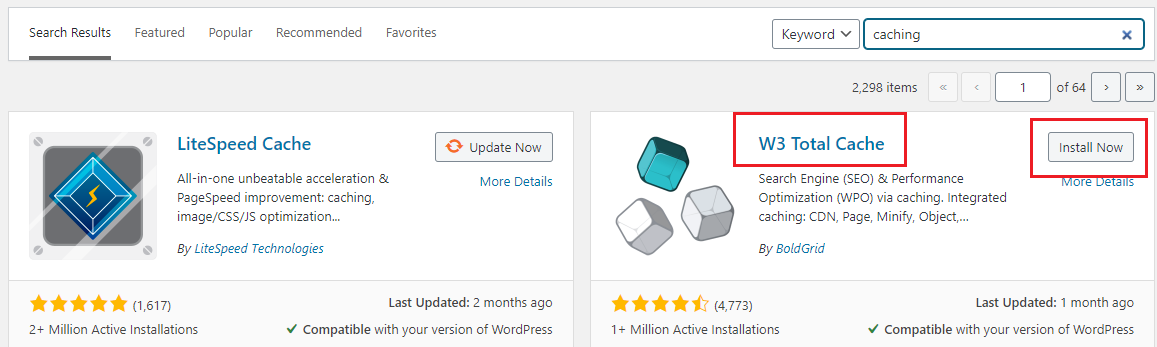
- I will download the W3 total cache tool and you can install it by clicking on the Install Now. You can use any cache plugin that you want, but the caching procedure will differ for different plugins.
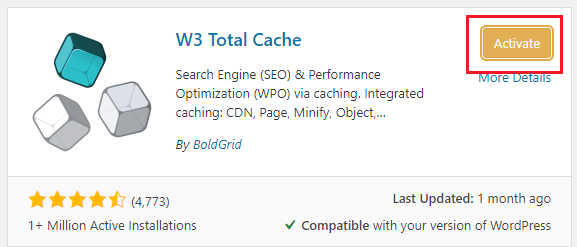
- After completing the installation process click on Activate.
- After successful installation of the plugin, a new category named Performance will be added on the left side menu of the WordPress dashboard. (It will be different for different cache plugins)
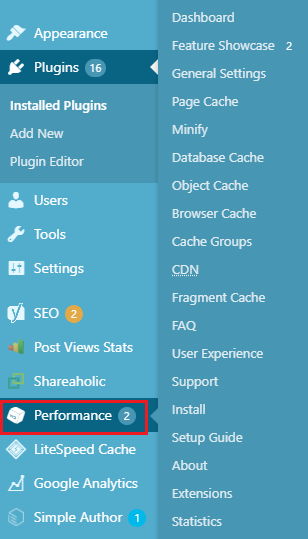
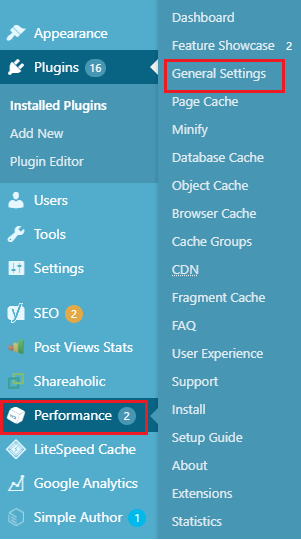
- Hover over the cursor on the Performance menu and click on the General Settings.
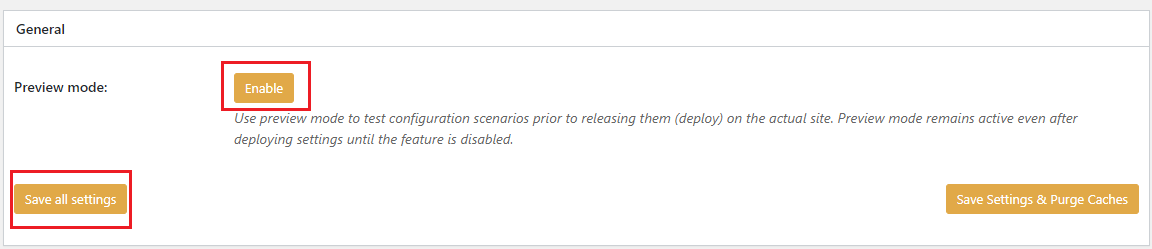
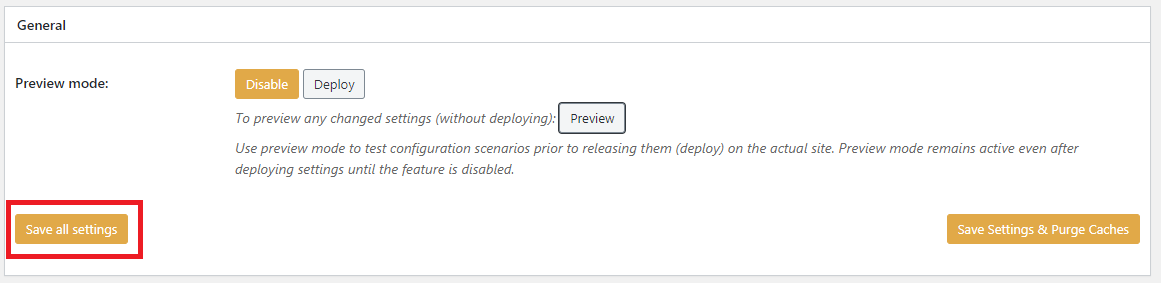
- Inside the General settings option, enable the Preview mode and click on Save all settings. With the preview mode enabled, you can preview your ongoing work.
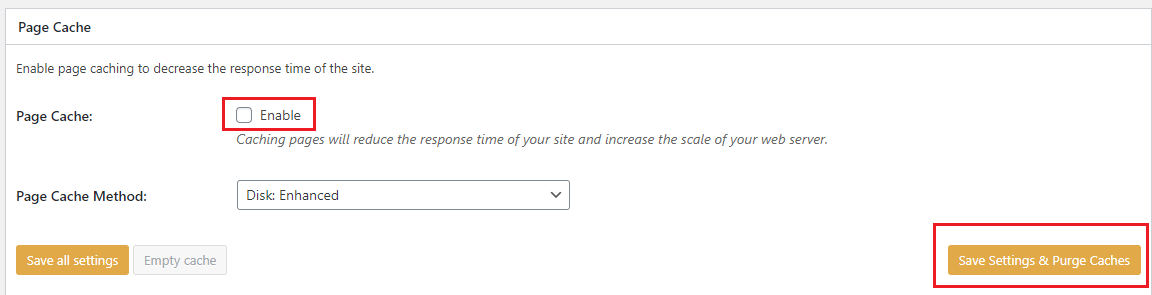
- Click on Enable in the Page Cache. After that, click on Save settings and purge cache.
- In the general section click on preview and check your website's performance.

- If the website is not working properly then uncheck the Enable option and click on Save settings and Purge Cache. By doing so you can disable the page caching.
- If your website is looking good after this then repeat the same process for two sections Viz. Database section and Browser Cache section.
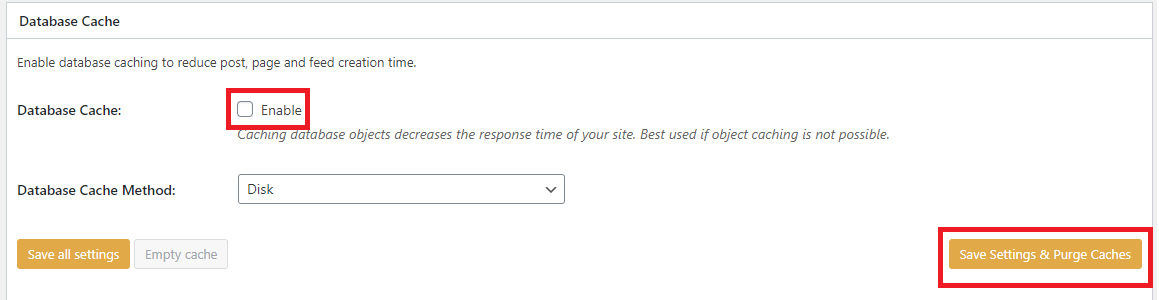
Enable these settings for each section one by one. After enabling one section, click on save changes and Purge Cache. Then preview the section before going to the next section.
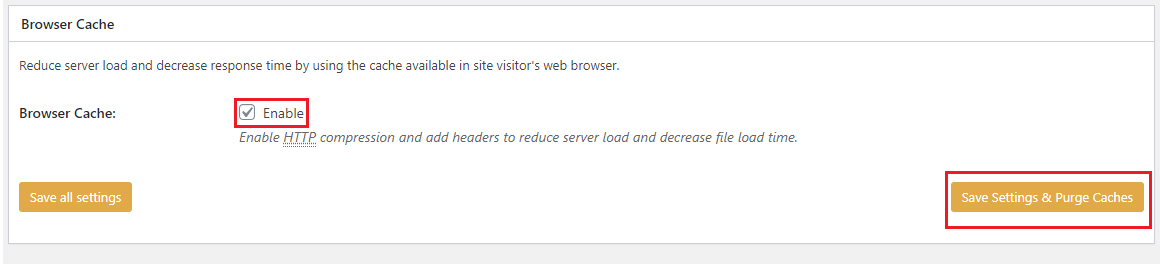
- If your website's performance is getting affected due to any of the settings, then uncheck the enable box and click on Save Settings & Purge Cache.
- After configuring all the caching options, checking the preview of the website, and whether your website is working fine, click on the Save all settings
Caching is successful and now your website will run faster than before.