I) Create a Local WordPress Site Using XAMPP
It’s a better choice to install WordPress locally on your PC. It will be useful when you do not have access to Wi-Fi (for example when you are traveling on a flight.). So let’s see how you can install WordPress locally in a stepwise manner.
We are going to install WordPress using 5 simple steps.
- Download XAMPP
- Install and Run XAMPP on your PC
- Download WordPress latest version
- Create a Database
- Install WordPress on the localhost
Step1: Download XAMPP
- Go to the official website of XAMPP and install the latest version according to your operating system.
- After clicking on the download button wait for some time to complete the downloading process.
step2: Install and Run XAMPP on your PC
- After the download process is complete, unzip the file. When the file is ready click on the Install button twice.
- In the next step, a window will appear with some checkboxes for several options. Here only select MySQL and phpMyAdmin.
- After this, the installation process will begin and it will take some time to complete.
- A windows security alert window will appear. Here click on the Allow Access button.
- Then you will see a language selection option. Select English and click on the Save button.
- In the end, click on the check box near the option that says " Do you want to start the control panel now?"
After this click on the Finish button. Now the control panel for XAMPP will open. Here click on the Start option near Apache and MySQL services.
Step3: Download the latest version of WordPress
-To do this, go to the official website of WordPress by following this link: https://wordpress.org/download/.
- From there download the latest version of WordPress by clicking on the blue Download button.
- Now the .zip file of WordPress will download be downloaded. Unzip the folder.
Step4: Create a Database
- Go to the location where you have downloaded the XAMPP. Inside this, open the folder named htdocs.
- Open the folder and here paste the WordPress folder that you have unzipped earlier.
- Change the name of the folder according to your Project name. In this case, I have changed the name to 'mytest'.
- Now go to your browser and open a new tab and search: 'localhost/phpmyadmin'.
- Select Database here. Write the same name that you have written on your local disk. Then click on the create button. Now the new database will be created.
- Create a database user and add the user to your database.
Step5: Install WordPress on the Localhost
- Open a new browser tab and search localhost/mytest (Note that you have to change 'mytest' to the name that is your files name)
- Then select the language and click on the Continue button.
- Then a welcome message will appear from WordPress, just click on the Go button,
- In the next step you have to enter the following information.
A database name: Write the user name that you have created
A Username: Write the database user name here
A Password: Leave the field blank
A database hostname: Write "localhost' here
A table prefix: In general it is written as 'wp_' but for better security, you can change it to a new one.
After filling up all the fields click on the Submit button.
In the final step of WordPress installation, write your site title, username, password, and your email address. Untick the box near the line that says," Discourage search engine from indexing this site."
After this click on the Install WordPress button.
That's all. In this way, you can install WordPress on your local server.
II) Create A Local WordPress Website Using The Desktop Server
- Download desktop server to your PC
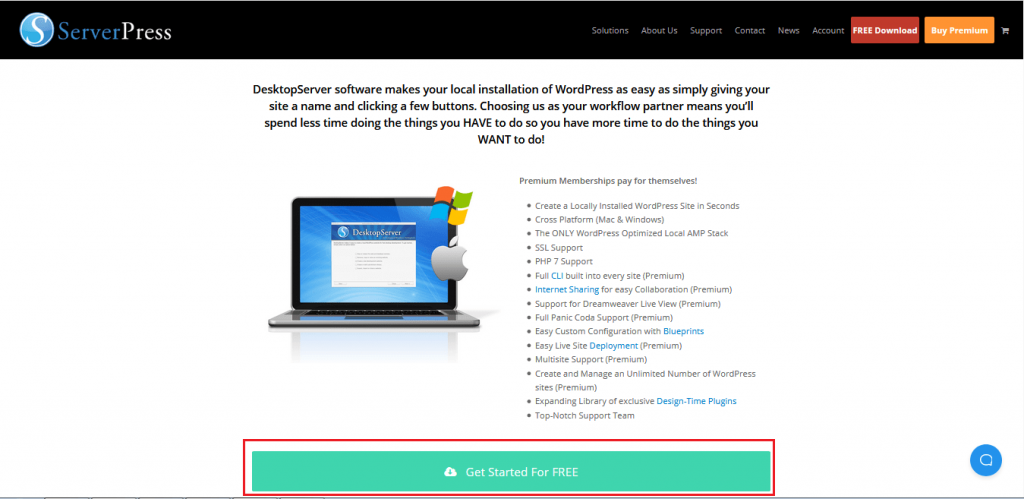
To download the desktop server for WordPress, go to serverpress.com. Here you can find a WordPress desktop server for both Windows and Mac operating systems along with both free and paid versions of the app. Download the .zip file according to your preference. In this example, I will download the free version for the windows operating system.
- Launch the desktop server installer
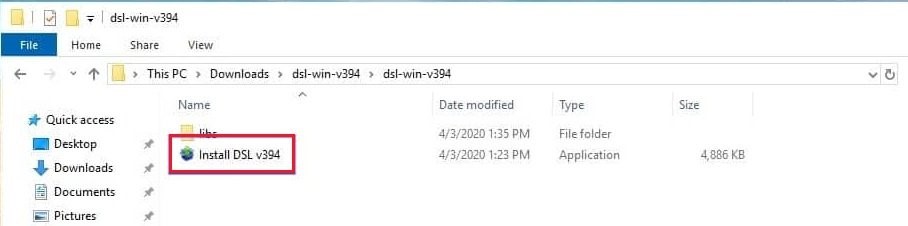
Unzip the file that you have downloaded. Then launch the Desktop Server installer.
At first, a window will appear. It will ask your permission to restart with administration privileges. To give permission click on Continue.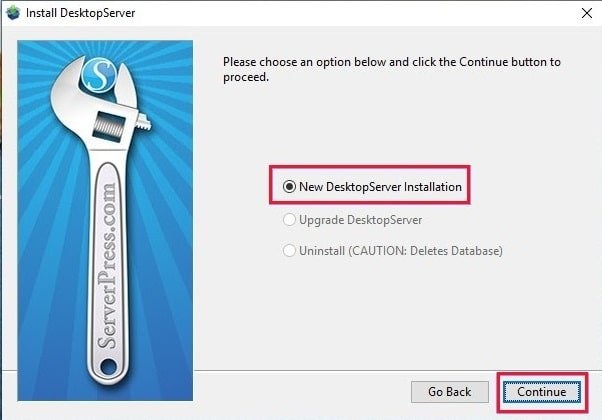
After that, you will be asked for the agreement of terms and services. In the next window, select the New Desktop Server Installation option and click on the Continue button. Then the installation process will continue and you will be shown a success message after the installation is completed. In the end, click on the Finish button.
- Enable the plugins and start Apache and MySQL services
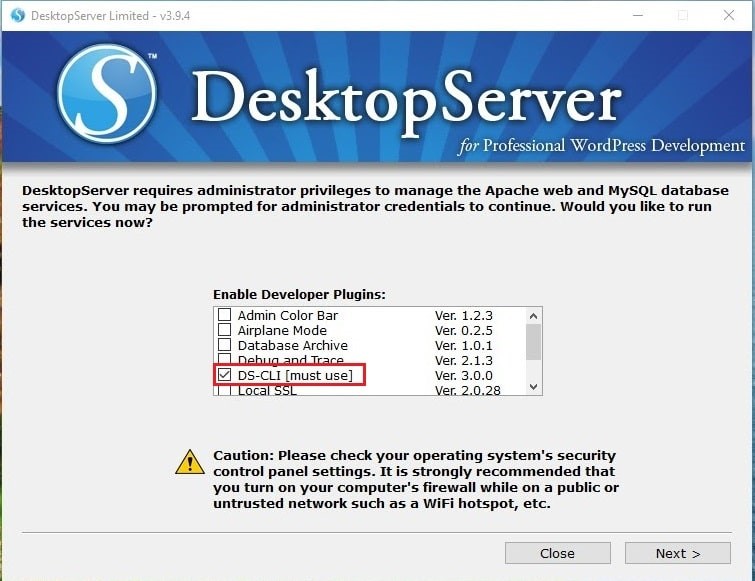
After the successful installation of the Desktop server, you can install different developer plugins shown in the next window. DS-CLI will be selected by default. If you want to install other plugins then tick the boxes beside them. Once you have selected the plugins click on the Next button.
Next, you will be shown a window where you will be asked if you want to start web and database services. Click on the Next button.
- Creating a new development site
After the 3rd step, you will be shown a window where you can create a new development website. Here select the Create a new development website option and click on the Next button.
After clicking on the Next button, the program will install WordPress for you. Then select your site's name, it will also be the local name of the site. In this example, I am using ‘testabc’ so the development URL for our local machine will be: ‘testabc.dev’.
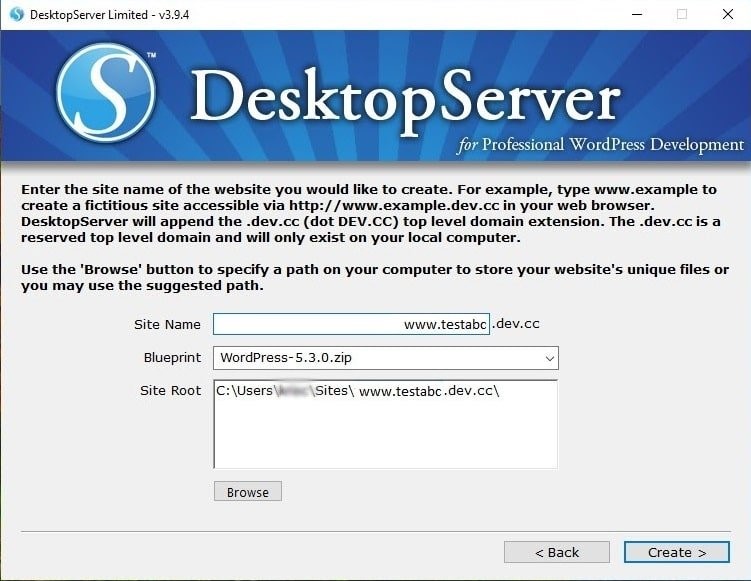
After entering the site name click on the Create button.
- Install and configure your WordPress site
When you click on the Create button, WordPress will create a source folder, virtual host, server name, and database, etc. It will also preconfigure WordPress files and restart web and database services. Once everything is done click on the Next button. Then you will be given a link. When you click on the link your local WordPress site will open in a new browser tab.
In the new tab select your preferred language and click on Continue.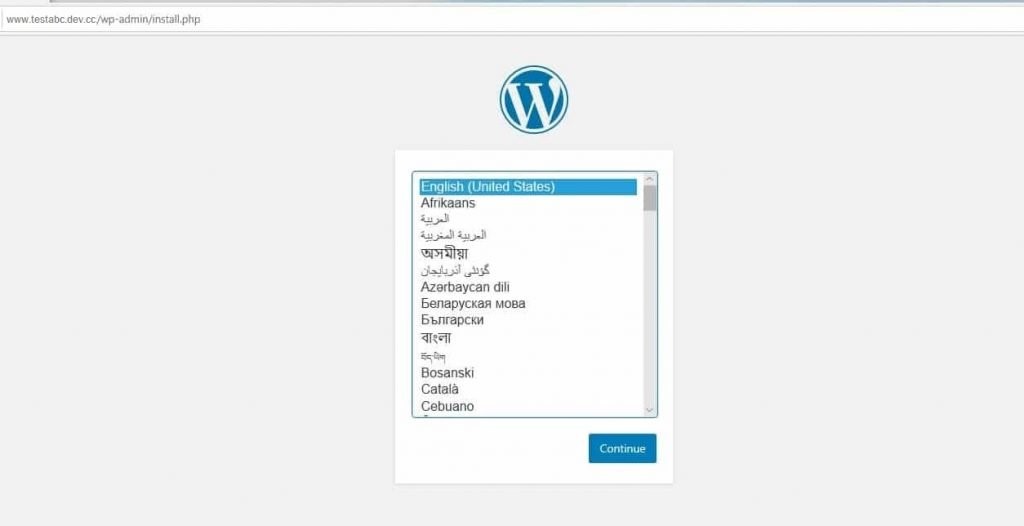
On the next window write your site title, select a username, a strong password, and your email address.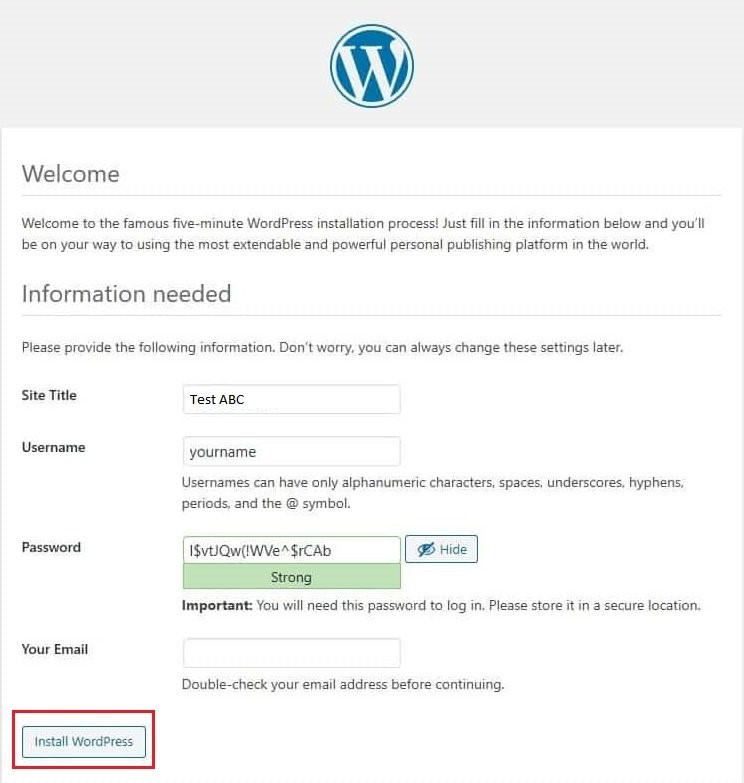
Once you have entered all the required details click on the Install WordPress button.
Congratulations, you have successfully installed WordPress locally and your site is up on the web.