Suppose you do not want to use a plugin or a plugin is corrupted, then you can disable the plug-in. You can disable the plugin by using the:
- WordPress admin dashboard
- cPanel File Manager
- FTP Client (FileZilla)
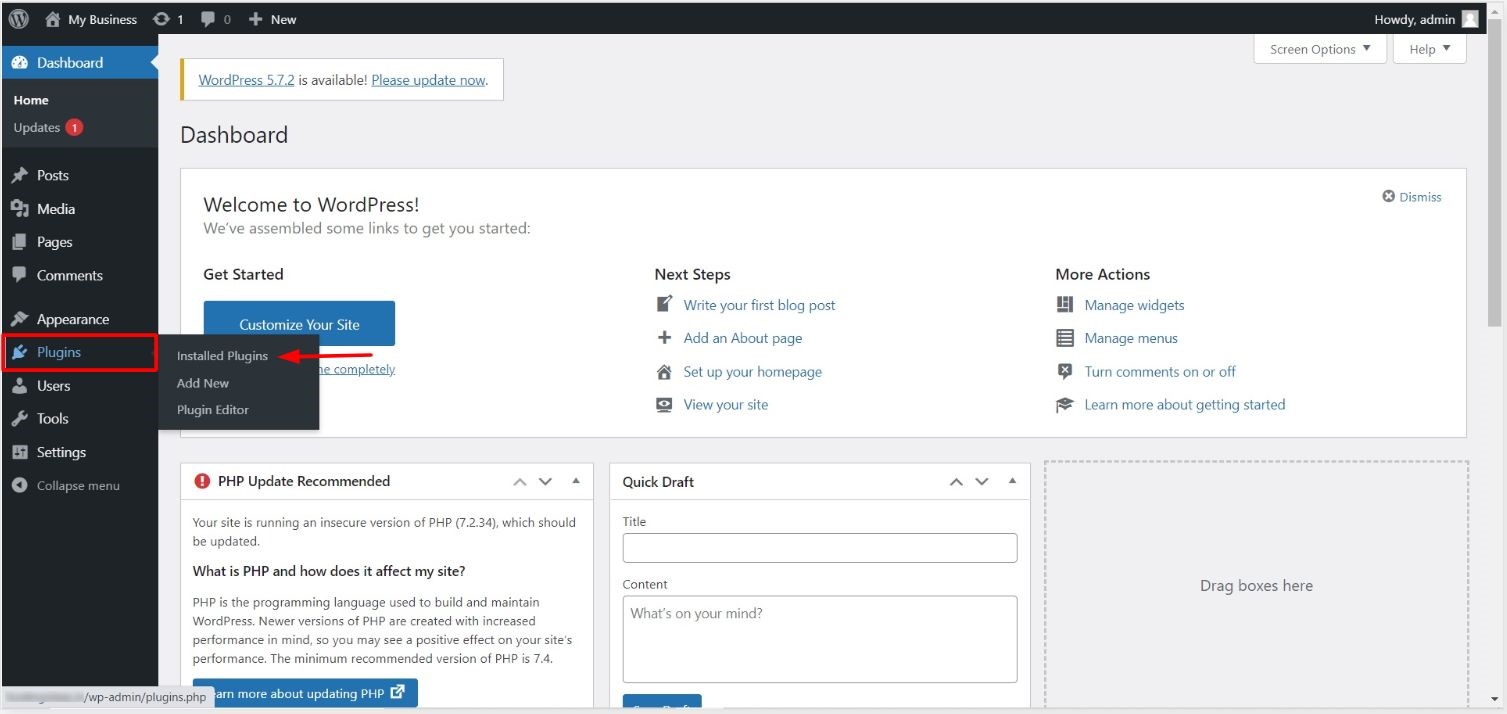
- Log into your WordPress dashboard account.
- Hover over the mouse cursor on the Plugins option and click on Installed Plugins. After that, a list of all the plugins will appear that are installed.
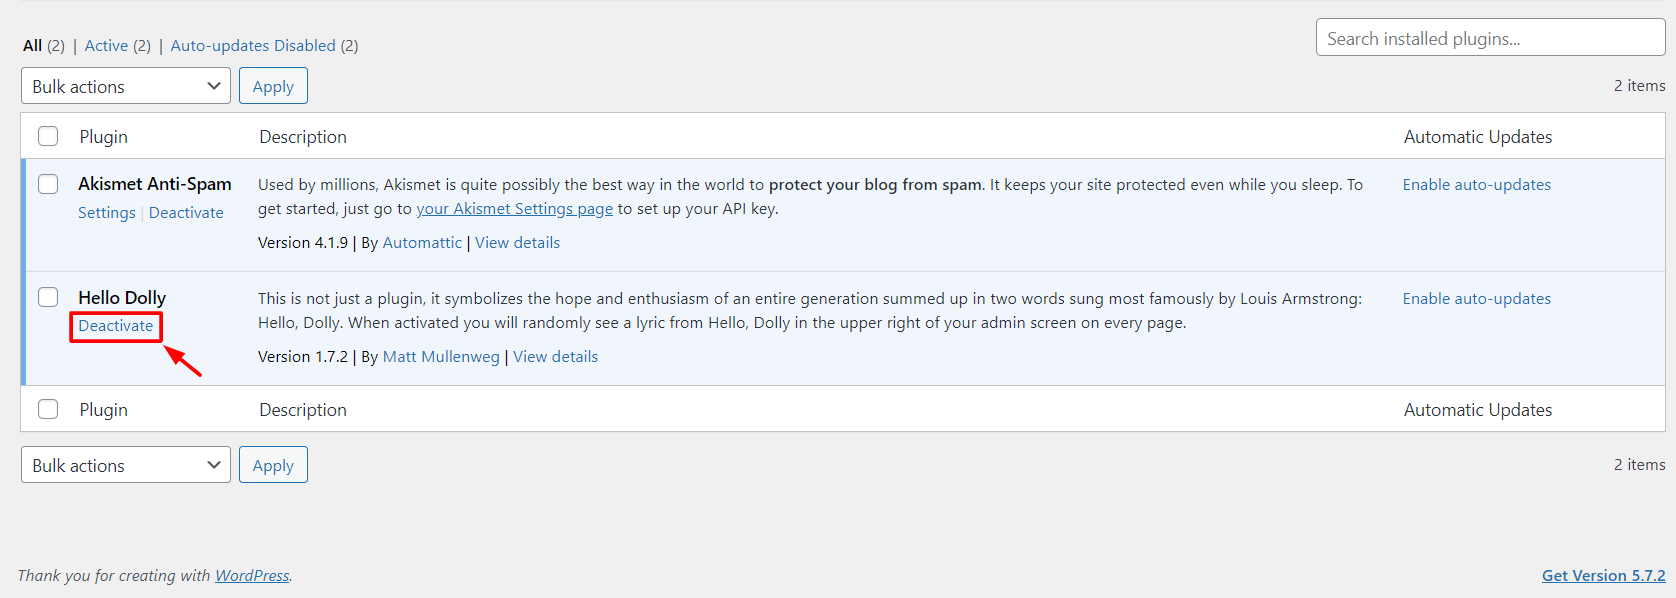
- You can find the Deactivate button near the active plugin. Click on turn it off or disable the plugin.
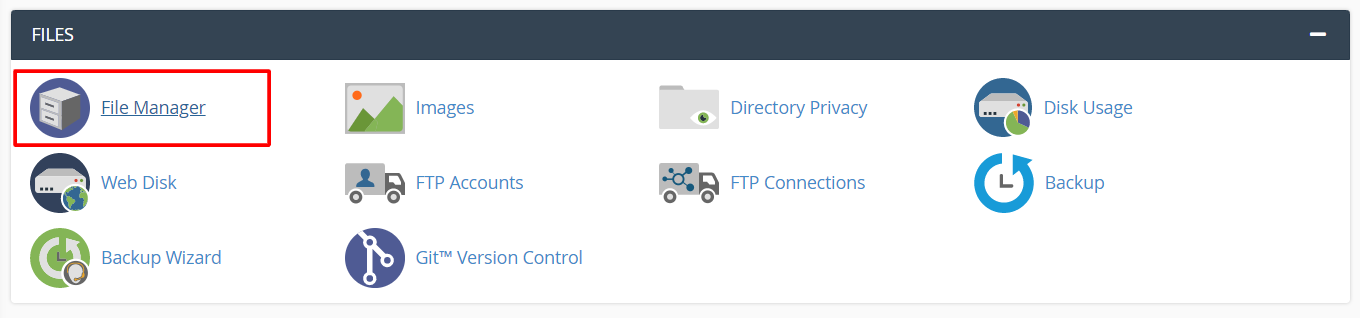
- First, log in to your cPanel, using your account.
- Next, scroll down to the Files section and click on File Manager.
- After the file manager is open, search and open your WordPress website's directory root.
- Open the folder named wp-content.

- Open the Plugins in this folder and you can see all of your WordPress plugins.

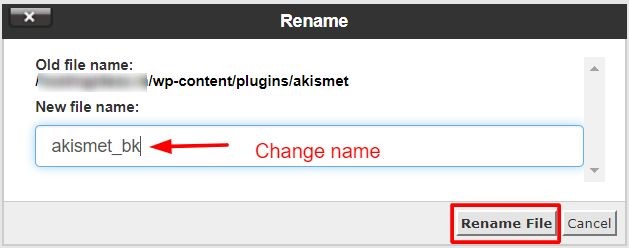
- Now select the plugin that you want to disable. Click on rename.

- Next, the Rename window will pop up and you have to rename the file name and click the Rename File button.
III) To disable a plugin using the FTP client (FileZilla), do the following steps:
- First, connect your WordPress website to the FileZilla FTP client.
- Find the plugins folder and click on it.
- Right-click on the plugin that you want to disable or deactivate. Then select Rename.
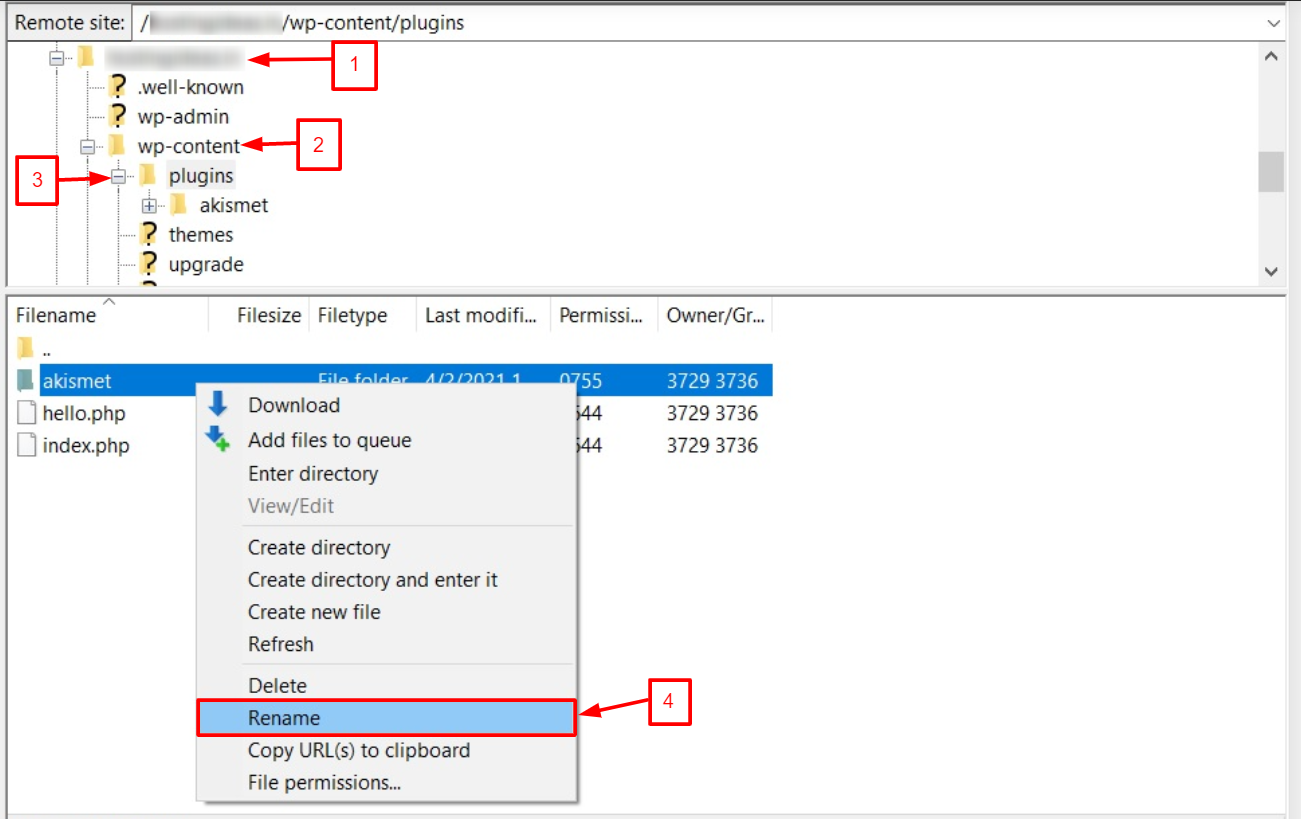
- Rename the plugin and the system will automatically deactivate the plugin for you on your website.