Custom fields enable you to add additional data or information to your post or pages. So let's know how to add custom fields to your WordPress post using a two-step method.
I)Enable custom fields and assign metadata to your post
1. Open up a post (new or old).
2. Click on the Screen Option tab.
3. A window will appear, make sure that the Custom Fields option is checked. Then close the Screen Option menu.
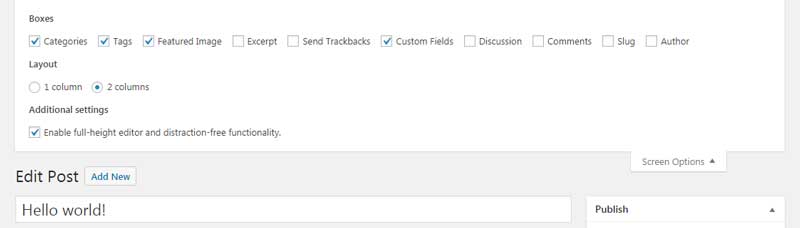
4. Now at the bottom of the post editor a new option will be added named Custom Fields.
5. Add the metadata, that describes your post, under the Name and Value fields.
We are taking an example where we are adding "Sponsored Post" as the name and "yes" as the value.
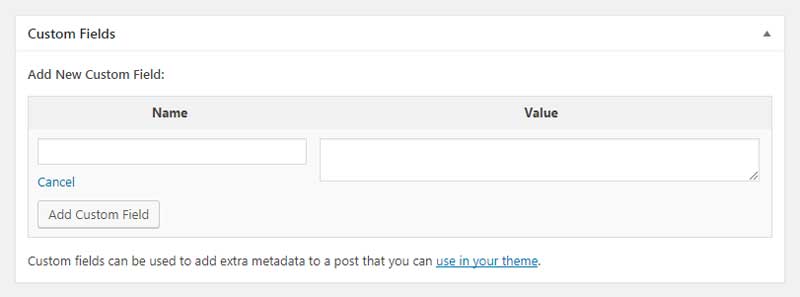
6. Click on the Add Custom Field button and the metadata will now be assigned to your post.

II) Add conditional code to your Theme File
It requires adding some codes to the file. It will be easy to do, just follow the simple steps:
1. Open your WordPress dashboard.
2. Then go to Appearence>editor.
3. On the right-hand side sidebar find the file named Single Post. open it.
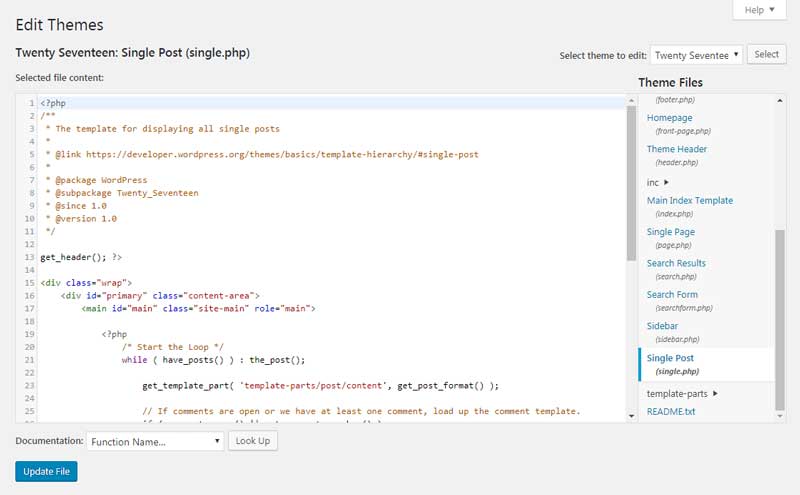
4. We are going to add the codes here. The code will vary for different purposes. In our case the code will look something like this:
<?php
$meta = get_post_meta( get_the_ID(), 'Sponsored Post' );
if( $meta[0] == 'Yes' ) {
?>
<p>This post is sponsored content, and we received a free copy of the product in order to conduct our review.</p>
<?php } ?>5. After you have added the code click on the Update File button. This code tells WordPress to check if a post has the Sponsored Post custom field and if the value is set to “Yes” or not. If the value is "yes" then it will display the message.
The placing of the code determines when the post will appear.
For example, if you want it to appear at the top, then add the code before the line:
while ( have_posts() ) : the_post();So that's how you can add custom fields to posts in WordPress.