A blogroll is nothing but a list of blogs. You can add a blogroll to your WordPress site by following the steps given below:
- First, log in to WordPress.
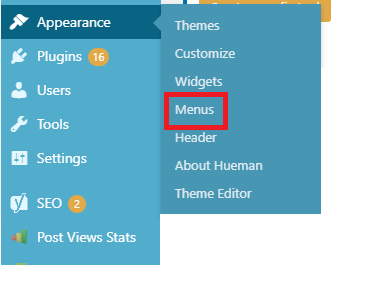
2. Then go to Appearance and click on Menus.
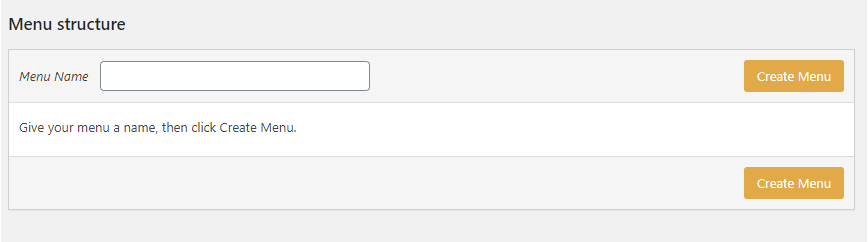
3. On the menu page, click on create a new menu.

4. A new blank menu will be created for you. Provide a name for this menu. We will name it 'Blogroll'. After entering the name, click on Create Menu.
5. Click on the Custom link button present on the left side. Click the down arrow and it will expand.
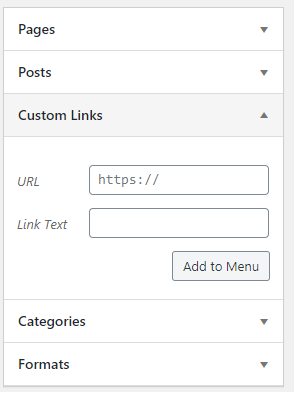
In the URL section add the URL of your website and in the Link Text option enter the title of the blog.
This will be displayed on the right section and an item will be added to the blank blogroll menu.

This process can be repeated to add as many items as you want. Now a new menu is created with the blogroll links. Our next task is to add the blogroll to your site.
To add the blogroll to your site follow the below steps:
1. In your WordPress dashboard go to Widgets. 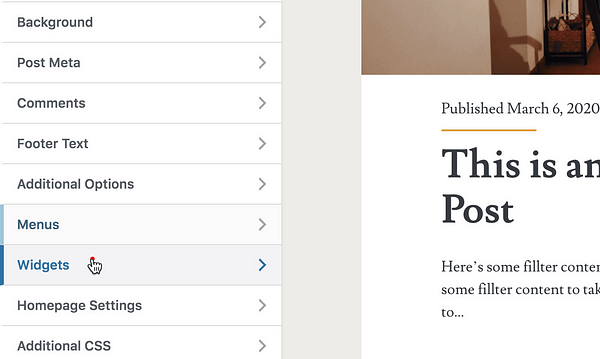
2. In case you have multiple widgets areas then select the widget area where you want to add your blogroll. Generally, blogrolls are present on the Right Side of the site. After that click on the Add widget option and select Navigate menu widgets. 
3. Finally in the Select menu option select the menu that you have created(in our case it is blogroll).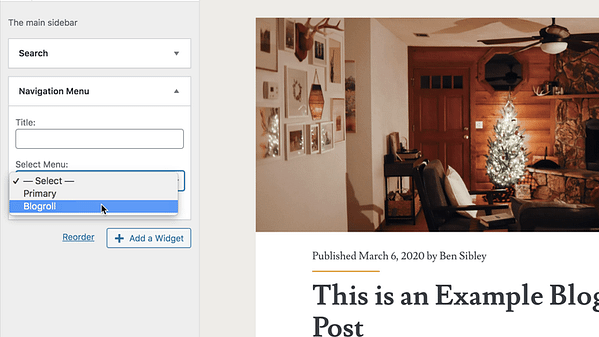
At last click on Publish button. Now the Blogroll will appear in the widget area that you have selected. 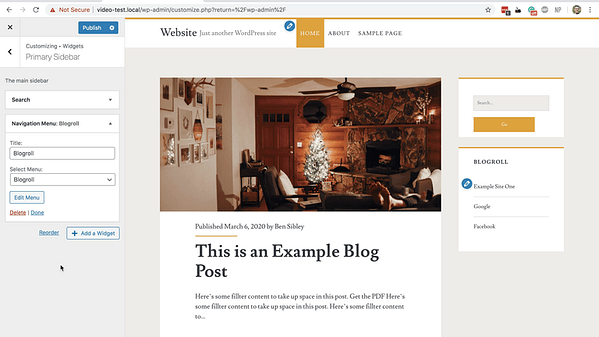
That's it. In this way, you can create a blogroll in WordPress.